How to Apply DTF and Stitch Effect Transfers for Perfect Results Every Time
DTF (Direct to Film) transfers have become increasingly popular due to their versatility and ability to deliver vibrant, high-quality prints on a wide variety of fabrics. Alongside custom DTF transfers, Stitch Effect transfers offer the appearance of intricate embroidery without the need for stitching. In this guide, we’ll walk you through the step-by-step process for applying both types of transfers to achieve professional results.
![]()
Step-by-Step DTF Transfer Application Instructions
Step 1: Pre-Heat the Press Begin by setting your heat press to the correct temperature. For most fabrics, this will be 155°C. If you’re pressing on polyester, we recommend lowering the temperature to 120°C to avoid heat damage to the fabric.
Once your press reaches the desired temperature, place your garment under the heat press and ensure it’s lying flat. This step is crucial for applying even pressure throughout the transfer process.
Step 2: Pre-Press the Fabric Before you apply the transfer, it’s important to remove any moisture from the garment. Press the fabric for 5 seconds without the transfer. This quick pre-press helps wick away moisture, which can affect adhesion, ensuring a better bond between the fabric and the transfer.
Step 3: Position the DTF Transfer Next, position your DTF transfer in the desired location on the garment. Make sure it’s laid flat with no wrinkles. Accuracy in positioning is key since this is where the design will remain.
Step 4: First Press Now it’s time to apply the transfer. Cover the transfer with protective paper or release paper (provided with the transfer), and press the garment for 10 seconds at medium to firm pressure.
Important Post-press Steps:
Step 5: Peel the Transfer One of the benefits of custom DTF transfers is that they can be peeled either hot or cold. However, for the best results, we recommend a cold peel. Remove the garment from the heat press and allow the transfer to cool completely before peeling the film off. To do this, roll the film off the garment in one smooth, fluid motion. This ensures the transfer sets properly and prevents any lifting or distortion.
Step 6: Second Press for Durability Once the film is peeled, place the garment back under the heat press. Cover the design again with release paper, then press for another 5 seconds. This second press helps ensure the transfer is fully bonded to the fabric and adds durability, especially through multiple washes.
Step 7: Inspect the Final Product Remove the garment from the press and inspect the transfer to ensure everything is securely adhered and free from any wrinkles or lifting. You should now have a vibrant, high-quality transfer that will last.
Click Here to watch a video of the tutorial!
Additional Notes and Best Practices
While the instructions above provide a reliable guide, it’s important to understand that times and temperatures may vary depending on the fabric and equipment you’re using. Here are a few tips to keep in mind:
- Perform a Test Press: Especially when using DTF transfers for the first time or applying them to a new type of fabric, we recommend performing a test press to ensure the transfer adheres properly. This is particularly important when pressing onto materials that may be sensitive to heat, like polyester or performance fabrics.
- Use Medium to Firm Pressure: Applying the right pressure is key to successful transfers. If the pressure is too light, the transfer may not adhere properly, leading to lifting or poor durability. Conversely, too much pressure can damage the fabric or the transfer itself. Medium to firm pressure works best for most applications.
- Temperature Adjustments for Polyester: When pressing on polyester, lower the press temperature to 120°C to avoid scorching or damaging the fabric. Polyester is heat-sensitive, and high temperatures can cause it to melt or warp.
Stitch Effect Transfers: A Unique Embellishment Solution
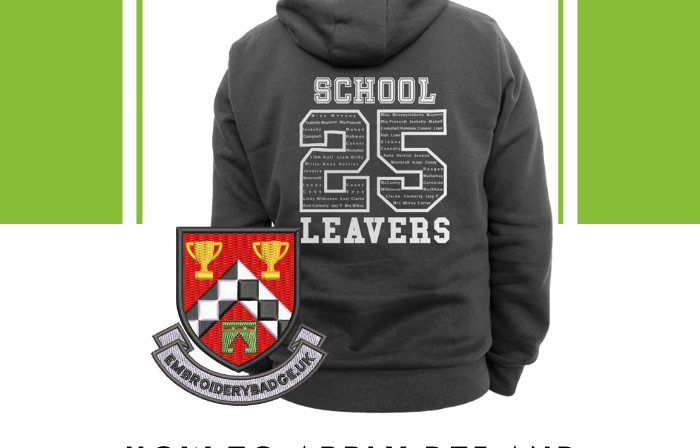
In addition to traditional DTF transfers, we offer Stitch Effect transfers, which provide the appearance of an embroidered design without the need for actual stitching. These transfers are particularly popular for embellishing school bags, uniforms, and other items where an embroidered look is desired without the higher costs or longer production times associated with embroidery.
The application process for Stitch Effect transfers is virtually identical to DTF transfers. The same temperatures, pressures, and peeling instructions apply, so you can follow the guide above to apply them as well.
Why Choose DTF and Stitch Effect Transfers?
DTF and Stitch Effect transfers offer several advantages, including:
- Vibrant Colours: DTF transfers produce high-definition prints with vivid colours that pop on any fabric.
- Versatility: These transfers can be applied to a wide range of materials, including cotton, polyester, and blends, making them suitable for various applications such as t-shirts, sportswear, and uniforms.
- Durability: When applied correctly, custom DTF transfers are durable and can withstand repeated washing without fading or cracking.
- Embroidered Look: Stitch Effect transfers allow you to achieve the appearance of embroidery. And that is without the higher production costs or limitations of traditional embroidery methods.
Conclusion
With the right tools and a bit of practice, applying DTF and Stitch Effect transfers is a simple process that can deliver professional results. Remember to always test new fabrics and follow the recommended time and temperature guidelines for best results. By following these steps, you’ll ensure your transfers adhere correctly and look great wash after wash.
Whether you’re creating customised apparel for your customers or personalising items for an event; DTF and Stitch Effect transfers provide a cost-effective, high-quality solution. Be sure to check out our other resources and videos to avoid common mistakes and get the most out of your transfers.